
Automation-Ready Warehouse Racking: How to Plan Today for Tomorrow's Warehouse
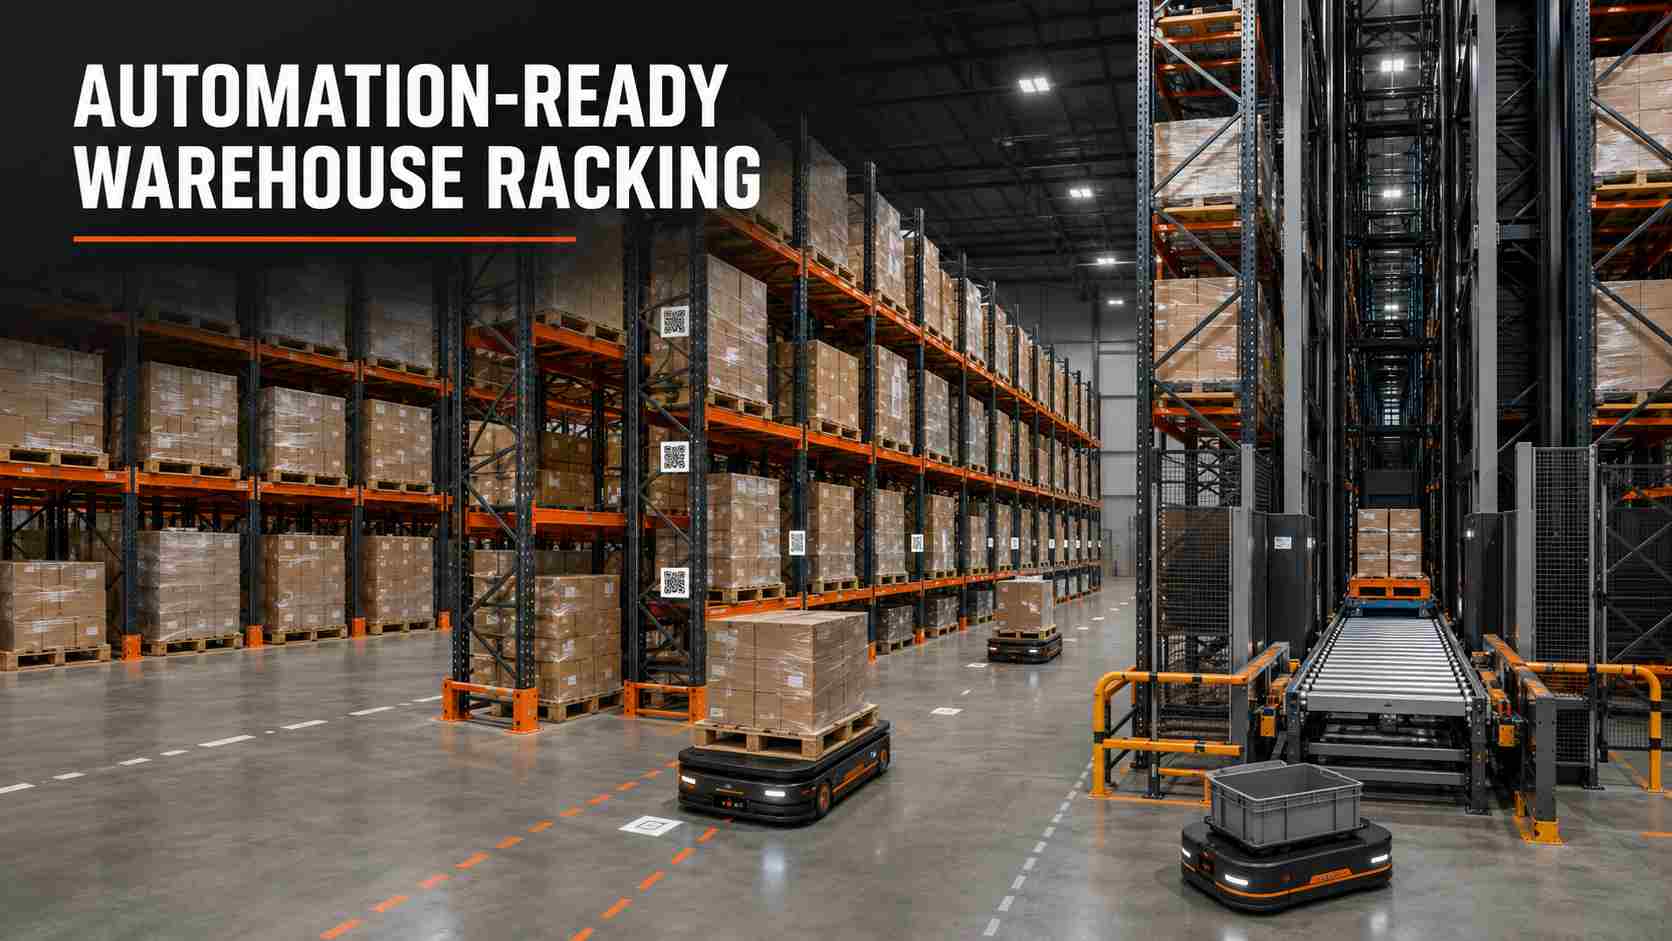
Warehouse automation does not always begin with a fully automated distribution center. Many companies first install conventional shelving or pallet racking, then add barcode systems, pick-to-light equipment, conveyors, autonomous mobile robots (AMRs), shuttles or an automated storage and retrieval system (AS/RS) as order volume grows.
This phased approach can reduce initial investment, but only when the storage system is planned with future interfaces in mind. A rack that works well for manual handling may require extensive modification if its dimensions, tolerances, clearances or load units are incompatible with automation.
Automation-ready warehouse racking is therefore not simply stronger racking. It is a storage structure designed around a defined upgrade path and supported by accurate data, controlled geometry and documented interfaces.
What Does Automation Ready Actually Mean?
There is no single global certificate that makes every rack compatible with every robot or AS/RS. The term should mean that the rack, floor, load unit and handling equipment can be jointly evaluated for a specific future system.
For example, a warehouse preparing for AMR-assisted picking has different requirements from a high-bay pallet AS/RS. AMRs may need predictable travel lanes, pickup stations and pedestrian separation. A stacker crane or shuttle system may require tighter rack geometry, defined load clearances and precisely positioned storage locations.
The current ANSI MH16.1-2023 scope includes industrial steel storage racks associated with AS/RS, but the rack is only one part of the complete installation. Vehicle, controls, fire protection, building and operational requirements must also be coordinated.
1. Define the Likely Automation Path First
Before selecting uprights and beams, determine which processes may be automated:
Pallet transport between receiving, storage and shipping
Carton or tote movement to picking stations
Shelf-level picking supported by AMRs
Conveyor-fed carton flow
Pallet shuttle storage
Crane-based or mini-load AS/RS
Automatic inventory identification and cycle counting
You do not need to choose the final equipment brand immediately. However, you should identify the handled unit, direction of movement, target throughput and likely transfer points. These decisions affect bay width, shelf depth, aisle geometry, bottom-level clearance and guarding.
2. Build the Design Around Real Load Data
Automation is less tolerant of irregular goods than manual handling. Record the minimum, typical and maximum dimensions and weights for every pallet, tote or carton family. Include overhang, damaged pallets, loose packaging and shifting centers of gravity.
The rack supplier should receive:
Maximum load per pallet, tote or carton
Load per level and total bay load
Pallet or container type and entry direction
Uniformly distributed or concentrated loading condition
Product overhang and required operating clearance
SKU turnover and replenishment frequency
A statement such as "1,000 kg per pallet" is not enough. Two loads with the same weight can interact differently with beams and decking when their footprints, support points or weight distribution differ.
3. Control Rack Geometry and Manufacturing Tolerances
Human operators can compensate for small variations in beam height or pallet position. Automated equipment depends on repeatable coordinates.
An automation-ready specification should define the permitted variation in upright position, frame plumbness, beam elevation, bay width, level alignment and storage-location coordinates. Connection play, floor variation and installation tolerances must be considered together rather than reviewed independently.
Do not copy a generic tolerance from another project. Ask the intended automation integrator to confirm the allowable interface envelope, then make it part of the approved rack drawing, installation method and acceptance inspection.
4. Verify Capacity, Stiffness and Deflection
Automation requires predictable behavior under load. Excessive beam or shelf deflection can change pickup height, reduce clearance or interfere with sensors. Upright design must also reflect the final rack height, beam-level pattern, anchoring, seismic conditions and any forces introduced by handling equipment.
Request model-specific drawings and a clear engineering basis showing:
Upright, beam, bracing and deck profiles
Steel grade and material thickness
Maximum level and bay loads
Load distribution assumptions
Beam and deck deflection criteria
Anchor and baseplate requirements
Applicable destination-market standards
Never assume that a load test for a shorter span or different component thickness proves the proposed configuration.
5. Plan the Floor, Aisles and Transfer Zones Together
Racking and automation share the same building. Floor flatness, levelness and condition can affect AMR navigation, stacker-crane alignment and transfer-station accuracy. Column grids, expansion joints, drains, slopes and floor load capacity may restrict the final layout.
Reserve space for charging, maintenance, emergency access, queuing and recovery of stopped equipment. Aisles must be based on the operating envelope of the selected vehicle, not only its body width. Where automated and manual traffic meet, define controlled transfer zones instead of allowing unplanned interaction.
6. Standardize Mechanical and Digital Interfaces
Future automation becomes easier when storage locations are consistent. Use repeatable bay modules, clearly identified levels and standardized pallet or tote positions. Allow practical mounting points or protected routes for sensors, scanners, pick-to-light devices, power and network equipment where required.
Location IDs should connect the physical rack to the warehouse management system. Durable barcode or RFID labels need consistent placement, clear sightlines and replacement rules. The naming structure should remain scalable when new aisles, levels or automation zones are added.
These details do not make the rack an automated system by themselves. They reduce the physical and data rework needed during integration.
7. Design Safety and Maintenance Access from the Start
Automation changes traffic patterns but does not remove warehouse hazards. Driverless industrial trucks, including AGVs and AMRs, fall within the safety scope of ISO 3691-4:2023. The complete project may also require barriers, scanners, emergency stops, access control and validated operating zones.
Rack protection remains important at manual transfer points. Provide access for inspection, anchor checks, sensor cleaning, component replacement and retrieval of fallen goods. Do not place cables, signs or automation devices where they block connectors or conceal rack damage.
The final safety design should be reviewed by the rack supplier, automation integrator, building/fire specialists and responsible local professionals. "Robot ready" should never be used as a substitute for a project-specific risk assessment.
A Practical Phased Roadmap
| Phase | Storage Decision | Future Benefit |
|---|---|---|
| Manual foundation | Standardize load units, rack modules, labels and location data | Creates consistent physical and digital storage addresses |
| Assisted operation | Add scanning, pick-to-light, conveyor interfaces or AMR transport | Improves flow without replacing the complete rack system |
| Integrated automation | Validate tolerances, controls, guarding and transfer stations with the integrator | Supports reliable machine access and system acceptance |
At every phase, update the rack drawings and equipment interface document. Uncontrolled changes to beam levels, loads or aisle layouts can invalidate earlier assumptions.
RFQ Checklist for Automation-Ready Racking
When requesting a quotation, send the supplier:
Warehouse plan, clear height and floor information
Pallet, tote or carton dimensions and maximum weights
Required storage positions and throughput targets
Current handling method and likely future automation type
Proposed aisle and transfer-station locations
Required clearances and installation tolerances
Applicable structural, seismic, fire and vehicle standards
Label, sensor, power and network interface requirements
Expansion plan for additional bays, levels or automation zones
Required drawings, calculations, inspections and acceptance records
Conclusion
The best time to prepare racking for automation is before the first bay is manufactured. Accurate load data, repeatable geometry, verified structural performance, suitable floors, standardized interfaces and safe transfer zones can preserve more options for future upgrades.
KAYOU supplies customizable warehouse racking systems and medium-duty steel shelving for international B2B projects. Send us your warehouse layout, load-unit data, required capacity and planned handling method. We can help develop a storage configuration for review with your automation integrator and local project team.
Contact KAYOU for a customized warehouse racking proposal.
Plan Your Automation-Ready Racking Project
Share your warehouse layout, load data and future automation plan with KAYOU for a customized storage proposal.