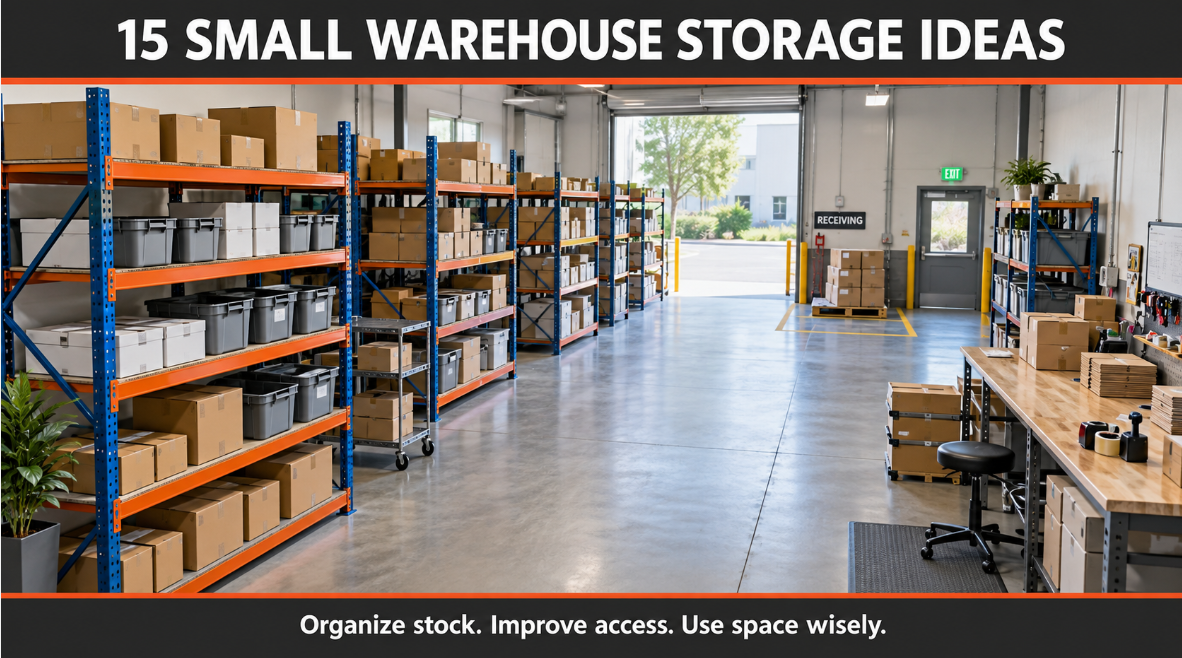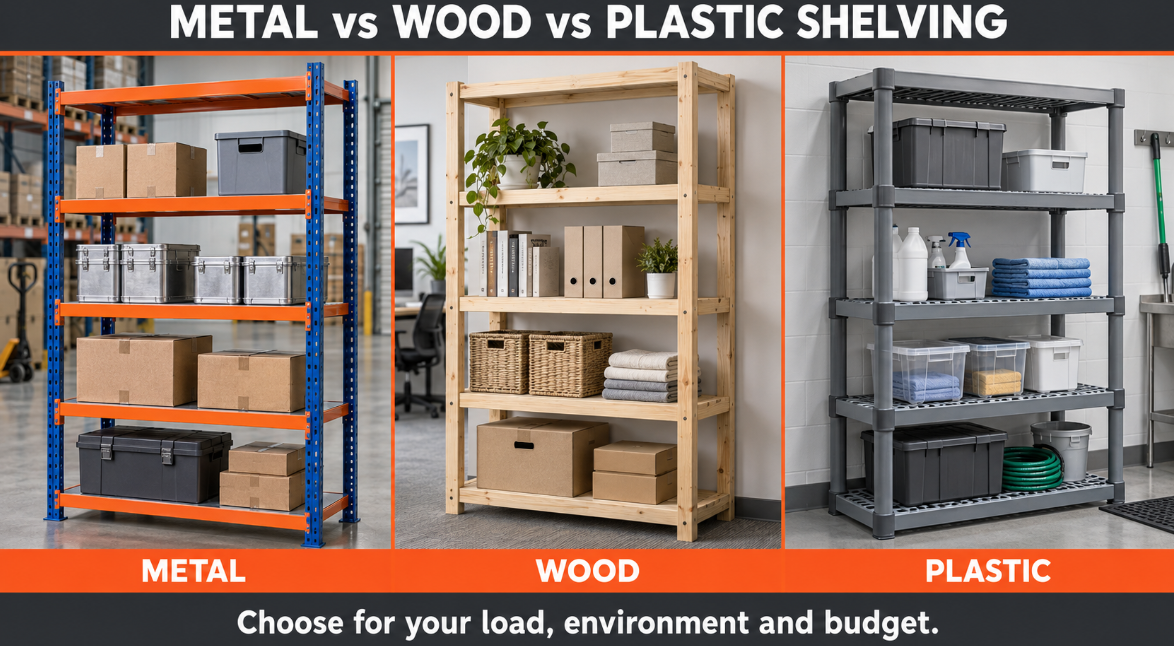

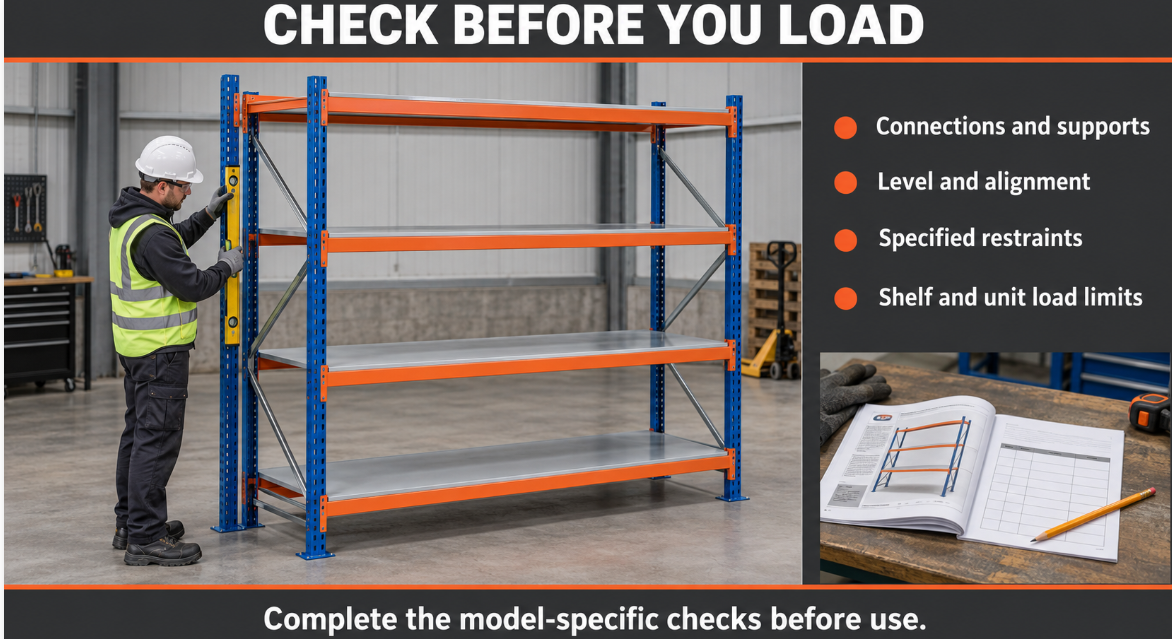
Metal shelving can turn loose cartons, tools and spare parts into organized storage. However, successful assembly starts before the first beam is fitted: you need to identify the system, check the components and follow the instructions for that exact model.
This guide explains a practical workflow for assembling freestanding metal shelving for garages, stockrooms and manually picked warehouse goods. It also covers common questions about boltless shelving assembly, shelf supports and unstable units.
Scope: This is a general preparation and checking guide. The manufacturer’s model-specific instructions control connection orientation, assembly order, bracing, fasteners, anchoring and load limits. Forklift-loaded pallet racking, mezzanines and other engineered installations require their own installation procedures.
Quick Answer: How Do You Assemble Metal Shelving?
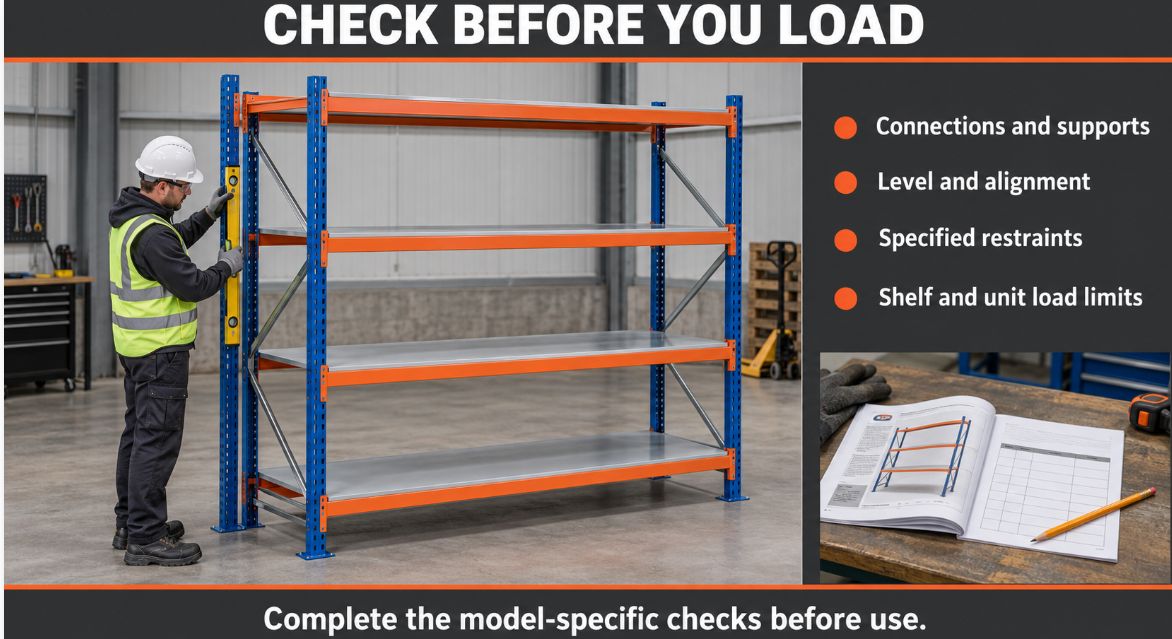
Identify the model and connection type, check all parts, prepare the assembly area, build the frame in the specified order, fit every required support and shelf panel, then complete alignment, fastening and restraint checks. Load the unit only after assembly is complete and the approved shelf and unit limits are confirmed.
Do not assume that every metal storage shelf uses a rubber mallet or that “boltless” means no tools, bracing or anchoring are required.
1. Identify Your Shelving Connection Type
Two shelving units can look similar while using different connectors. Match the carton label, order reference and component details to the supplied manual.
| Connection type | What to identify | Assembly point to confirm |
|---|---|---|
| Hook-in or tabbed beam | Formed hooks or tabs engaging upright slots | Correct beam orientation, full engagement and any specified locks |
| Rivet-style boltless shelving | Beam rivets engaging shaped upright holes | Correct insertion and seating direction for that model |
| Bolted shelving | Nuts, bolts, brackets and possibly separate bracing | Fastener grade, washers, tightening order and specified torque |
| Wire shelving with split sleeves | Grooved posts, sleeves and shelf collars | Sleeve orientation, matching groove positions and collar seating |
This article’s frame-building steps mainly address beam-and-upright steel shelving. Wire shelving with sleeve connections follows a different assembly sequence; use its dedicated instructions.
If the manual is missing, request it before starting. A photograph of another brand’s rack is not a reliable substitute.
2. Check the Parts and Prepare Your Tools
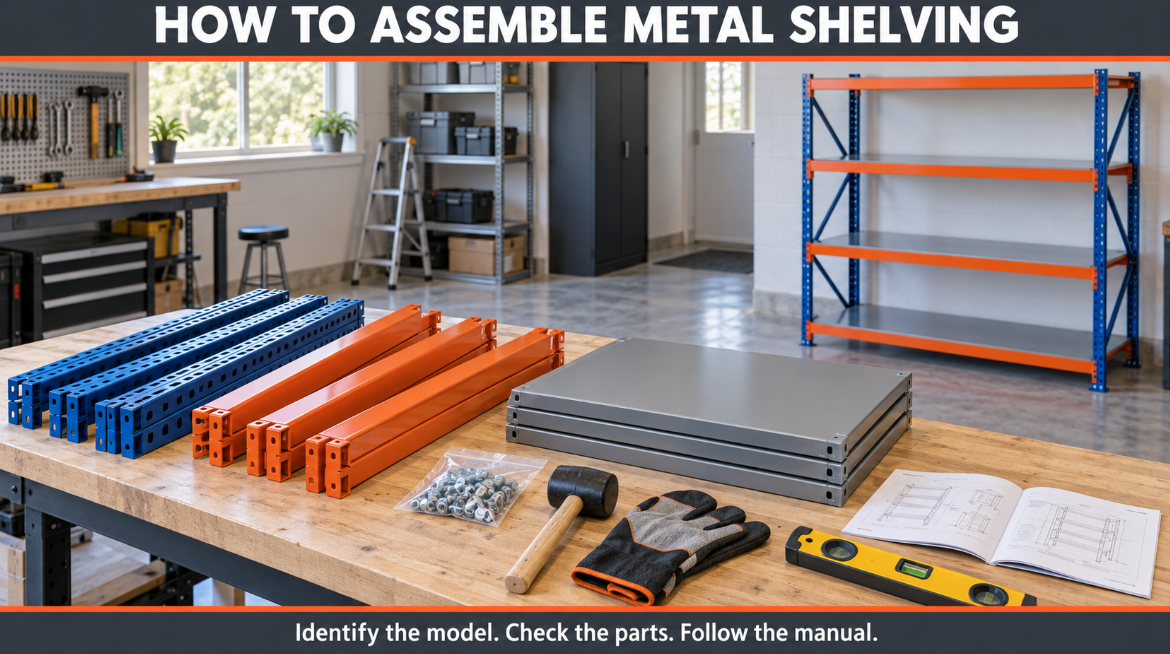
Unpack the components onto a protected surface. Compare quantities and part numbers with the packing list, including small items that can remain inside cartons.
Depending on the model, the kit may contain uprights, long and short beams, shelves, support bars, feet, upright joiners, braces, connectors and retention devices. Not every model includes all of these parts.
Check for bent ends, distorted slots, cracked welds, damaged panels and missing hardware. Photograph uncertain parts and keep their package labels for identification.
Common assembly tools include:
Protective gloves and any eye protection specified for the task
Tape measure and spirit level
Rubber mallet, only where the instructions call for one
Correct-size spanners or sockets for bolted connections
Torque wrench where a tightening torque is specified
Drilling tools and fixings depend on the approved restraint arrangement and substrate. Do not select them from a generic online checklist.
BiGDUG’s published garage shelving guide illustrates a mallet-based assembly sequence for its boltless products and directs users to the supplied instructions. This is useful context, but its sequence is not a universal instruction for KAYOU or other manufacturers’ systems. BiGDUG garage shelving assembly guide
3. Prepare the Assembly Area and Confirm Shelf Positions
Clear sufficient space to handle the longest components and to support the frame during assembly. Plan for the number of installers and any handling equipment required by the manual; long or unstable frames should not be balanced by one person.
Check the final position against doors, aisles and building services. Inspect the floor for unevenness or damage that could affect support.
Confirm shelf positions before connecting the frame. Allow room for the actual cartons or containers, but stay within the permitted configuration. The lowest level, level spacing and total number of shelves can matter structurally.
For configurable storage, review the selected dimensions and arrangement with KAYOU’s medium-duty steel shelving range.
4. Assemble the Lower Frame in the Specified Order
Fit the specified feet, base components and connectors at the stage shown in the manual. Some systems begin with two end frames; others use a different sequence.
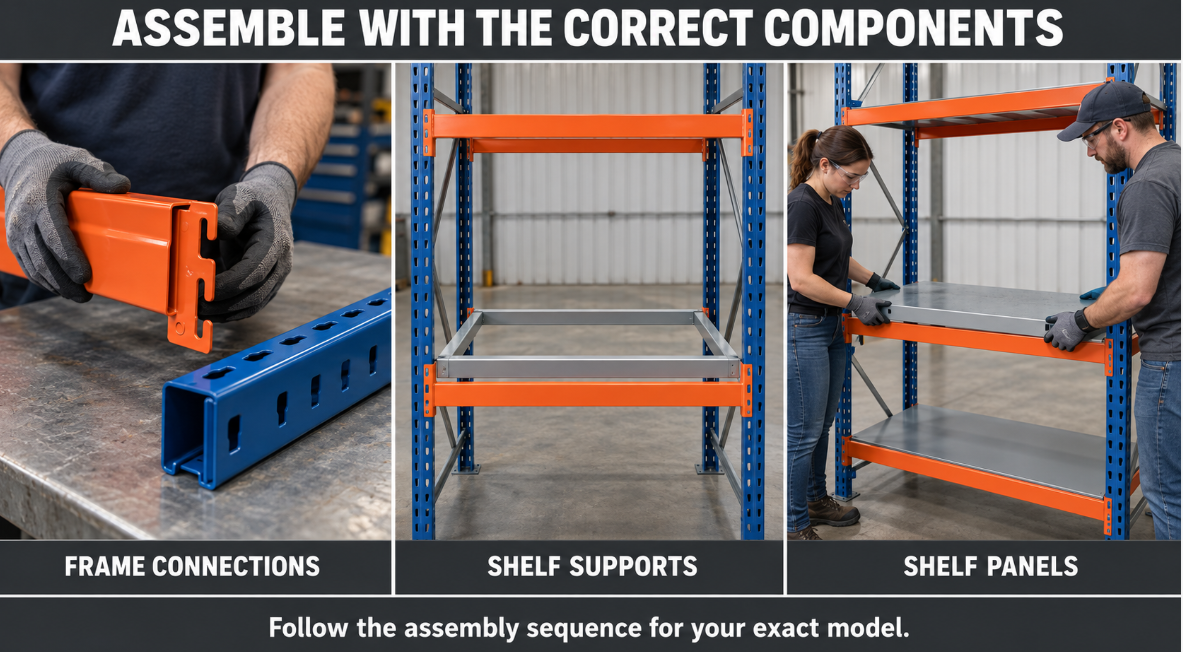
For hook-in or rivet connections, check that the connector and upright openings face the intended direction. Engage the corresponding ends at matching elevations. Where tapping is permitted, use the recommended tool and contact point.
If a beam will not seat, stop and inspect the alignment. Check part identity, orientation and possible damage before applying more force. Do not grind hooks, enlarge holes or bend connectors to make them fit.
For bolted shelving, use the specified hardware and tightening sequence. Some systems require temporary positioning before final tightening; others do not. Follow the manual rather than applying a universal “leave everything loose” rule.
5. Install Remaining Levels, Bracing and Supports
Add components in the required sequence while keeping the partially assembled frame supported. Check that the front and rear members of each level occupy matching positions.
Install every specified brace, locking device, upright joiner and shelf support. A middle support may be essential even when an empty panel appears stiff enough without it.
Do not omit a member to create extra carton height. Likewise, additional shelf levels or changes to upright joints must remain within the approved arrangement.
If component counts do not match the drawing, resolve the difference before continuing.
6. Fit the Shelf Panels Correctly
Place each panel on its intended supporting surfaces, with the specified orientation and retention method. Check that it sits securely and does not rock, lift at a corner or project into the access route.
Steel panels, wire decks and wood-based boards are not automatically interchangeable. A replacement panel must match the required dimensions, supports, material specification and loading condition.
Never stand on a panel to force it into position. If it does not fit, inspect the frame alignment and part dimensions while the unit remains unloaded.
7. Complete Alignment, Tightening and Restraint Checks
Before loading, check that the frame is square and upright, levels are aligned and every foot or base bears as intended. Use the applicable tolerances and checking method from the manufacturer.
Complete final fastener tightening and fit required locks or braces. Install specified floor anchoring or wall restraints using the correct fixing detail and suitable substrate.
Not every system uses the same restraint arrangement. A unit feeling steady when empty does not establish that anchoring is unnecessary. Conversely, adding an improvised wall fixing does not correct an unsuitable frame or floor condition.
Do not level the shelving with loose cardboard, timber scraps or unapproved packing. Obtain the correct leveling detail where needed.
8. Check the Load Limits Before Use
Confirm both the permitted load per shelf and the total unit or bay limit. Check the basis of the rating, including whether it assumes a uniformly distributed load.
A compact machine supported on small feet can impose a different demand from cartons spread over the shelf. The number printed in a product title may not describe your exact loading arrangement.
Read KAYOU’s safe working load guide for an explanation of these distinctions.
Place goods according to the approved arrangement and keep heavy, frequently handled items at suitable accessible levels where permitted. Normal loading is not a structural load test. Stop using the affected area if unexpected movement or deformation appears.
Metal Shelving Assembly Troubleshooting
| Problem | Possible cause | What to check before use |
|---|---|---|
| Beam ends will not engage | Incorrect orientation, unmatched positions, wrong part or damage | Manual, part numbers and connection alignment; do not force a modification |
| Shelf panel rocks or will not lie flat | Frame out of square, misplaced supports or distorted panel | Frame alignment, support positions and panel dimensions |
| Unit wobbles when empty | Uneven bearing, incomplete connections, missing bracing or restraint | Full assembly against the manual; do not use stored weight to stabilize it |
| One shelf level slopes | Members at different elevations or uneven support | Matching positions and the approved leveling method |
| Shelf visibly deforms in use | Unsuitable load distribution, missing support, damage or overload | Control access and arrange assessment and safe unloading as appropriate |
These are investigation prompts, not a diagnosis of a particular installation.
Final Assembly Checklist
Before releasing the shelving for use, confirm:
The assembled model and dimensions match the order and instructions.
All required connections, braces, supports and locks are installed.
Feet, base components and specified restraints are complete.
Panels are seated and the frame alignment has been checked.
Fasteners are tightened as specified.
Load limits and operating restrictions are available to users.
Access routes are clear and no damaged or unidentified parts remain in service.
Keep the manual, order reference and final configuration together. They will help when requesting parts or reviewing future changes.
Frequently Asked Questions
Can I assemble metal shelving myself?
Some small units are intended for user assembly. The answer depends on the model, component size, stability during assembly, required tools and fixing work. Follow the manual’s staffing requirements and use an appropriate installer where the work exceeds your capability.
How do I assemble five-tier metal shelving?
Identify the exact five-tier model first. The number of shelves does not identify its connector, upright joints, bracing or installation order. Use its supplied parts list and assembly instructions rather than a generic five-tier diagram.
Do I need a hammer for boltless shelving?
Some systems call for a rubber mallet; others use different seating methods. Do not strike parts with a metal hammer unless the manufacturer explicitly specifies the method. A connector that will not engage may be misaligned or incorrect.
Why does my metal shelving wobble after assembly?
Possible causes include uneven floor contact, incomplete connector seating, missing braces or an unfinished restraint arrangement. Check the unloaded unit against the manual. Adding stock is not a remedy for instability.
Does metal shelving need to be anchored?
Follow the model-specific design and installation requirements. Shelving geometry, intended loading, floor conditions and location can affect the answer. Do not assume that every unit needs the same wall or floor fixing.
Can I change shelf heights after installation?
Only within a confirmed configuration and using the prescribed unloading and adjustment procedure. Moving levels or removing supports can affect the structural arrangement. Update the recorded configuration when necessary.
Need KAYOU Metal Shelving Assembly Support?
For an existing KAYOU order, send the order reference, model, overall dimensions and clear photos of the complete unit and connection you are asking about. Include the relevant manual page and identify any missing or damaged parts.
For a new warehouse, garage or stockroom project, tell us your required shelving dimensions, number of levels, stored goods, maximum loads, quantity and destination. KAYOU can review the configuration and discuss the assembly information needed for your order.